Digital Sampling for Handbags: 3D Renders Before Physical Samples
Should a 3D render be approved before the first physical handbag sample is cut? Yes for silhouette, proportion, colour blocking and hardware placement; no for hand feel, drape, thread tension and plating. A production-ready render costs USD 60-180 per view and returns in 24-48 hours, where a first physical sample costs USD 80-250 and takes 6-10 working days, rising to 12-15 for framed, woven or stacked constructions. Renders are for killing bad ideas cheaply and physical samples are for proving the good ones: a render-first workflow removes one to two of the three sample rounds a new silhouette usually needs, but it can never remove the last one.
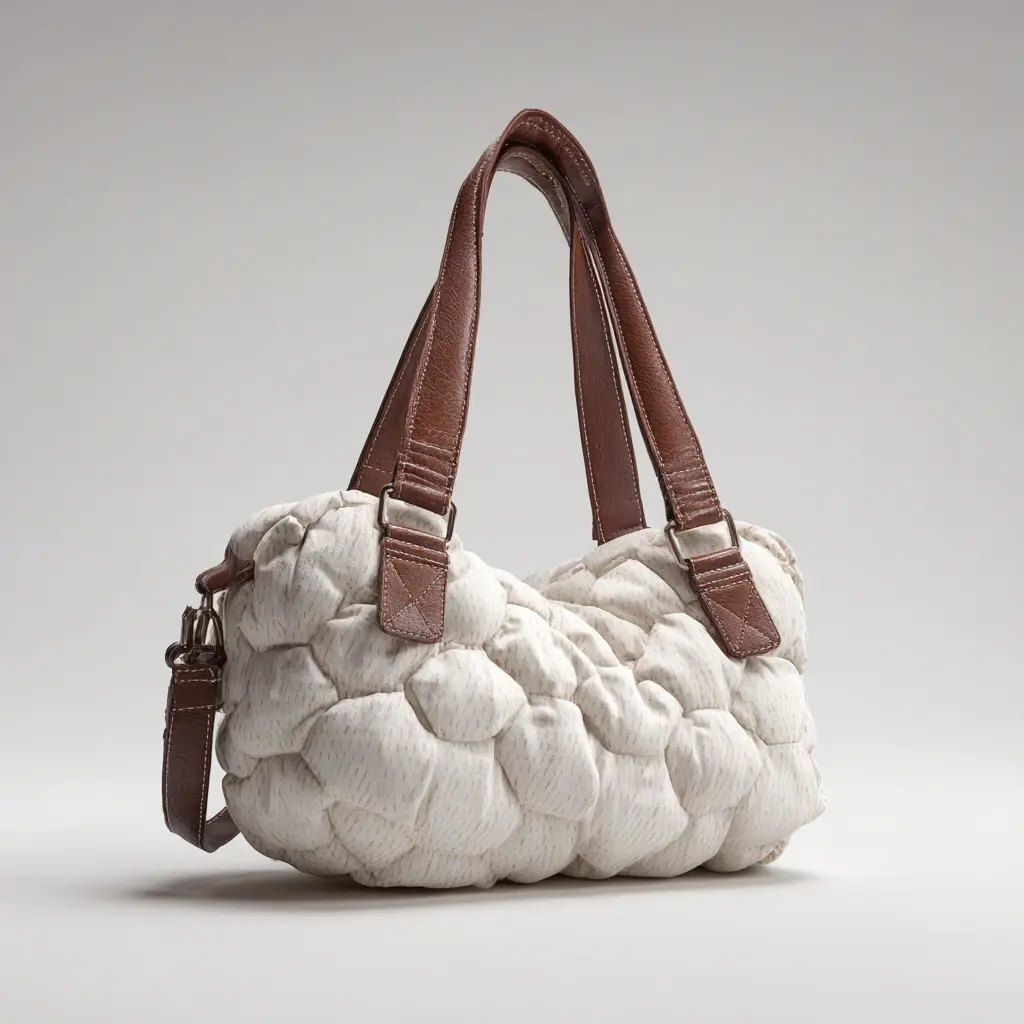
- Should a Render Come Before the First Physical Sample?
- What Can a 3D Render Actually Prove About a Bag?
- What Can Only a Physical Sample Prove?
- How Much Time and Money Does a Render Remove?
- Which File Types and Specifications Does a Render Need?
- Where Do Renders Mislead Buyers Most Often?
- How Do You Move From Render to Sample Without Rework?
- When Should You Skip the Render Entirely?
- What Does a Render-First Workflow Look Like End to End?
- Checking the Render Against the Sample It Produced
Should a 3D render be approved before the first physical handbag sample is cut? Yes for silhouette, proportion, colour blocking and hardware placement; no for hand feel, drape, thread tension and plating. A production-ready render costs USD 60-180 per view and returns in 24-48 hours, where a first physical sample costs USD 80-250 and takes 6-10 working days, rising to 12-15 for framed, woven or stacked constructions. Renders are for killing bad ideas cheaply and physical samples are for proving the good ones: a render-first workflow removes one to two of the three sample rounds a new silhouette usually needs, but it can never remove the last one.
Render versus physical sample, side by side
Should a Render Come Before the First Physical Sample?
Yes, whenever the silhouette has never been made before and the disagreement is about proportion rather than construction. The render answers a question that photography cannot answer: what will this look like in a colour that does not exist yet, at a size nobody has cut yet, with hardware that has not been plated yet. That question costs USD 60-180 per view and comes back in 24-48 hours. A physical sample answers a different question entirely, which is whether the object stands up, closes properly and survives being carried, and that answer needs 6-10 working days and a bench. Putting the cheap question first is the whole idea.
- Ask the cheap question first. Proportion, colour blocking and logo placement are decidable from pixels; changing them after the pattern is cut costs a full round.
- Keep the expensive question for last. Hand feel, drape, stitch balance and plating behaviour need a physical object and cannot be simulated honestly at 1:1 scale.
- Write down which question each round answers. A revision list that mixes visual and construction questions is exactly why sample rounds multiply.
- Freeze the render before the pattern is cut. Anything changed after that point is a change to the pattern, not to the picture.
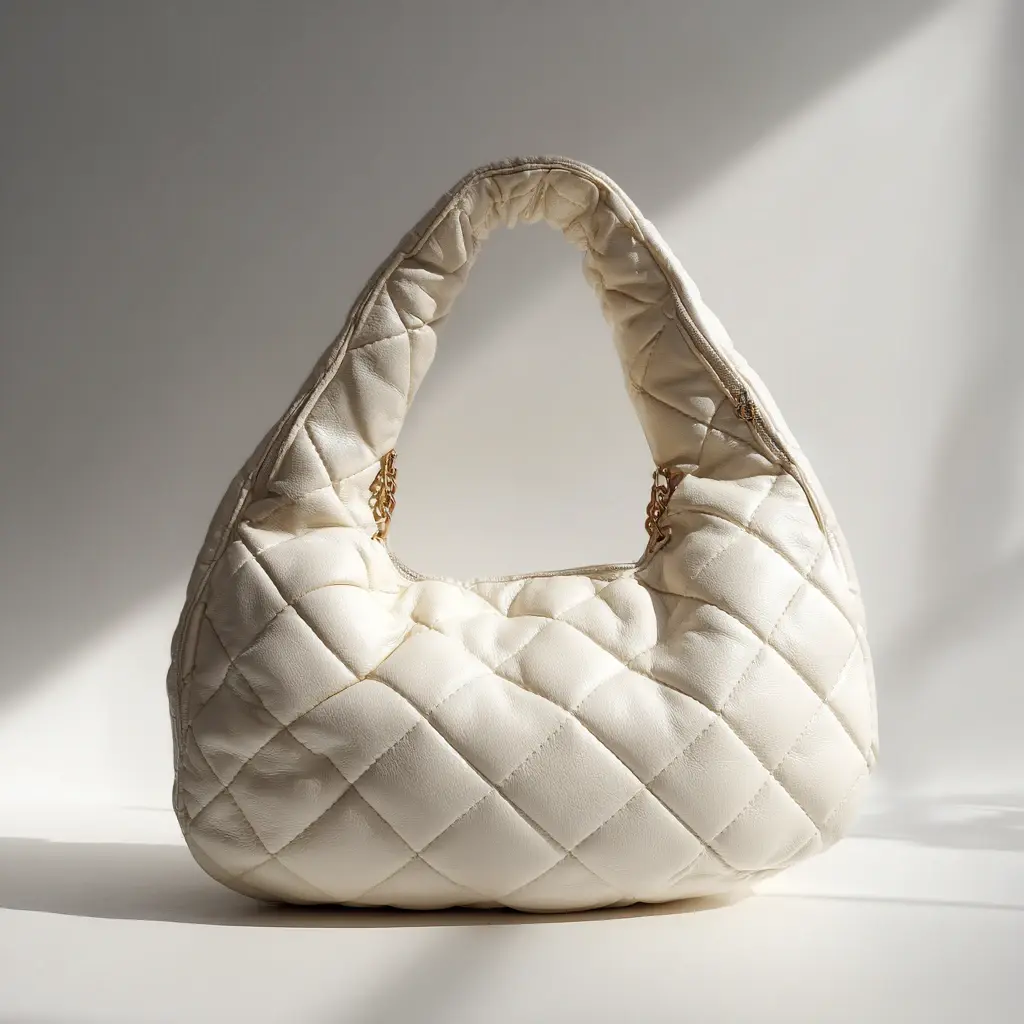
The two artefacts are not rivals. The render removes the rounds where the disagreement was visual; the sample remains the only place where a 1.2-1.4 mm leather, a 210D lining and a closure rated for 24 hours in a salt fog can be judged together. Programmes that start with a render and finish with a sample reach approval in fewer rounds than programmes that start with a sample and then argue about it in photographs, because the photograph argument is really a design argument happening at the most expensive moment in the calendar.
What Can a 3D Render Actually Prove About a Bag?
A render can prove anything that is geometric or chromatic, provided the model is built at 1:1 scale in millimetres and the materials are described with real numbers rather than with a look. That covers silhouette proportion, panel breaks, colour blocking, hardware position, branding position and how a product will read in a listing photograph. It does not cover any property that depends on how a material behaves under force, and the boundary between the two is where most disappointment is generated.
- Proportion and panel layout. A 34 cm tote with a 10 cm gusset and a 26 cm strap drop reads very differently on screen than the same three numbers written in a table.
- Colour blocking. Two-tone panels, contrast binding and edge-paint colour can be signed off before any hide is cut, and each colourway is one file swap.
- Hardware and branding position. A closure set 42 mm below the top edge and a logo 18 mm above the base seam are decisions that cost nothing to change in a render.
- Listing and marketing assets. A clean render is usable in a pre-launch page, a wholesale line sheet or a campaign weeks before goods exist.
- Range coherence. Six silhouettes rendered together show whether a line reads as a line, which is almost impossible to judge from six separate photographs.
The condition attached to all of this is a real specification behind the pixels. A render built from a vague sketch reproduces the vagueness; a render built from a tech pack with body width, gusset depth, strap drop and tolerances in millimetres reproduces the specification. The handbag private label process reference shows where the render sits between the brief and the pattern, and why it belongs before the pattern rather than alongside it.
What Can Only a Physical Sample Prove?
Everything that involves force, friction or chemistry. Renders simulate appearance and they do not simulate a hide that stretches 8-12 percent differently along the grain than across it, a coated shell that squeaks against a lining, or a plated closure that spots after a day in a salt fog. Those three behaviours decide whether a bag reviews well, and none of them exists in a file.
| Question | Render decides | Physical sample decides |
|---|---|---|
| Silhouette proportion | Yes, at 1:1 scale in mm | Final check against the body |
| Colour blocking | Yes, against Pantone TCX | Delta E 2.0 against approved swatch |
| Drape and slump | Approximate only | Yes, loaded with 1-2 kg |
| Stitch quality | Not visible | 7-9 stitches per inch, Tex 40 |
| Hardware finish | Colour only | 24 hours to first corrosion, ASTM B117 |
| Hand feel and grip | No | Yes, subjective but decisive |
| Zip run under load | No | Yes, 500 open-close cycles |
The middle three rows are where budgets go. A render can make a slouchy hobo look deliberate, and then the physical sample slumps about 20 mm lower than the picture because the shell was cut from a 0.9 mm split rather than the 1.4 mm full grain the render was shaded with. Naming the substance in the tech pack, with thickness in millimetres, temper, finish, and whether the lining is 210D polyester or a cotton twill, is what closes that gap before the hide is bought.
How Much Time and Money Does a Render Remove?
Work the arithmetic on a three-silhouette line. Three renders at USD 60-180 per view is roughly USD 400-1,200 and about 3-5 calendar days including one revision pass. The same three silhouettes handled sample-first cost USD 80-250 per piece per round, need 6-10 working days per round, and most genuinely new shapes take two or three rounds before a buyer is willing to sign.
- Render-only stage
- USD 400-1,200, 3-5 calendar days
- Sample rounds needed after render
- 1-2 instead of 2-3
- Physical sample per round
- USD 80-250 per piece
- Sampling window
- 6-10 working days, 12-15 complex
- Bulk window
- 35-50 days
- Inspection
- AQL 2.5 under ISO 2859-1
- MOQ
- 500 pcs per style / colourway
The saving is rarely the sample charge itself; it is the calendar. Removing one round removes 6-10 working days from a plan that already runs 55-80 days from brief to handover, before 18-28 days of transit to the US West Coast or 30-38 days to Northern Europe. On an autumn launch that difference is the season. It also changes what the sampling timeline from artwork to approved sample has to absorb, because fewer rounds means fewer places for the plan to slip.
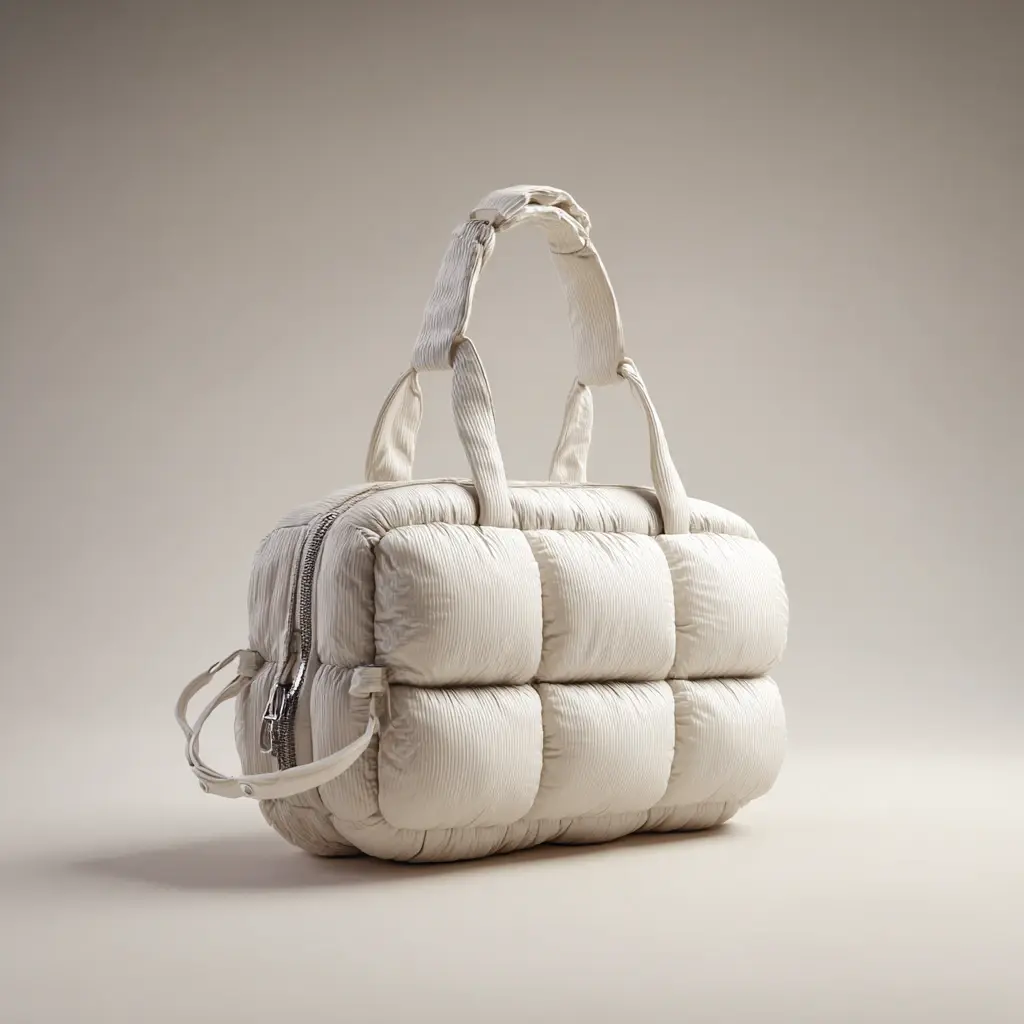
Which File Types and Specifications Does a Render Need?
A render that cannot be turned into a pattern is a picture, not a specification. Send the numbers with the image, so the model can be checked against the tech pack rather than merely admired in a slide deck.
- A 1:1 model in millimetres. OBJ, FBX or GLB exported at real scale, with body width, height, gusset depth and strap drop recorded in the accompanying sheet.
- A dimensioned flat sketch set. Front, back, side and base views, plus an interior view showing pocket layout and the position of every divider.
- A material call-out per panel. Substance, thickness in millimetres, colour reference and finish, with a note on whether each panel is cut on the grain or across it.
- Hardware references. Type, size, finish and plating colour, with position given in millimetres from a stated datum edge rather than from a feeling.
- Stitch and seam notes. 7-9 stitches per inch, 10 mm seam allowance, Tex 40 thread, and which seams are turned, bound or raw-edged.
- Branding method and position. Emboss depth, woven-label size, embroidery stitch count or hardware logo, each placed from the same datum.
Two file habits save a round on their own. Keep one master model per silhouette so a colourway change is a material swap rather than a rebuild from scratch, and export a turntable alongside the still images, because most proportion complaints only appear when the model rotates. A render that looks correct from the front and wrong from three-quarters is the most common reason a first sample gets rejected for something the render could have shown.
Where Do Renders Mislead Buyers Most Often?
Four failure modes account for most of the disappointment, and all four are avoidable if they are named before the render is commissioned rather than after the sample arrives.
- Shading a material the specification does not name. A render shaded with full-grain behaviour and then cut in a corrected grain will not match; 8-12 percent drape variation between substance classes is normal.
- Lighting that flatters the colour. A warm light shifts apparent hue. Colour must still be approved against a physical swatch at Delta E 2.0 or better under a defined light source, as with any Pantone TCX reference.
- Hardware drawn rather than specified. A drawn closure has no plating, no weight and no pull tolerance; a zinc-alloy part still needs 24 hours to first corrosion under ASTM B117.
- Stitching that is invisible. Seams that look clean in a render can still be sewn at 5 stitches per inch with a 6 mm allowance, which is why the stitching and hardware checks on a physical sample exist.
The last one deserves emphasis, because it is the reason a render can never be the final approval. Geometry is visible in pixels and construction is not. A good pattern beats a render for precisely this reason: the pattern is where drape, yield and seam sequence stop being intentions and become something a bench can measure.
How Do You Move From Render to Sample Without Rework?
The handover is a document, not a conversation. Everything the render decided has to be transferred into the tech pack before the pattern is cut, or the sample room will make its own decisions in the gaps, and those decisions will be reasonable and still wrong for the line.
- Freeze the render and date it. One named file becomes the reference, and later changes are revisions against it rather than alternatives to it.
- Write the dimension set into the tech pack. Body width, gusset, strap drop, handle drop and pocket positions, each with a plus or minus 3 mm tolerance.
- Confirm the material call-out per panel, including substance, thickness and the physical swatch reference approved at Delta E 2.0.
- Confirm hardware by reference, not by drawing, with finish stated and an expectation of 24 hours to first corrosion under ASTM B117.
- Book the sampling window when the pack is complete, not when it is nearly complete: 6-10 working days begins when the last open question is closed.
- Ask for one physical sample per colourway that will actually be ordered, because colour is per dye lot and 500 pcs per style / colourway is one lot.
Where those six steps are followed, the render and the first sample disagree only on drape and hand feel, which are the two things a render never claimed to prove. Where they are skipped, the bench receives a picture and a verbal note, and the round is spent discovering that the picture was not a specification.
When Should You Skip the Render Entirely?
Three situations, and all three are common enough that a buyer who renders everything is wasting as much money as a buyer who never renders at all.
- A proven silhouette in a new colourway. The pattern exists and the geometry is settled, so a physical sample in the new colour answers everything in 6-10 working days.
- A single change to an approved specification. A strap drop change of 30 mm or a hardware swap does not justify a render; note it in the revision list instead.
- A construction question rather than a visual one. If the question is whether a base holds 3 kg or whether a drawcord channel feeds smoothly, build the sample.
The rule is straightforward. Renders are worth their cost when the uncertainty is about how something will look, and they are wasted when the uncertainty is about how something will behave. A line that is mostly settled but uncertain about colour placement gains more from one render than from one sample. A line that is mostly settled but uncertain about whether a frame closes gains nothing from either until the pattern is cut.
What Does a Render-First Workflow Look Like End to End?
Put end to end, a render-first programme for a three-silhouette line runs in the sequence below. Every stage produces a document, and every document is what makes the following stage cheap.
| Stage | Output | Days |
|---|---|---|
| Brief with target retail price | One-page brief with a price ceiling | 1-2 |
| 3D render, one view per silhouette | Dated OBJ or GLB plus stills and a turntable | 2-4 |
| Render revision pass | One annotated revision list | 1-2 |
| Tech pack from the frozen render | Dimensioned pack with tolerances | 2-4 |
| Physical sampling | One sample per silhouette | 6-10 working days |
| Sample review and approval | Annotated photographs, numbered list | 3-6 |
| Deposit and production slot | Booked slot, not a pencilled one | 1-2 |
| Bulk production | 500 pcs per style / colourway | 35-50 |
| Inspection and handover | AQL 2.5 report under ISO 2859-1 | 3-6 |
Two documents hold the whole sequence together: the dated render, which stops the visual argument from restarting every week, and the tech pack, which converts the picture into something a bench can cut. Compliance paperwork runs alongside rather than after. REACH Annex XVII covers restricted substances in coated materials and trim, a Proposition 65 review covers hardware and coated trim bound for California, CPSIA documentation applies where a bag is marketed to children, and Leather Working Group traceability applies where hides are bought through audited tanneries. A sourcing partner working to ISO 9001 will attach all of it without being asked twice, and the Global Recycled Standard covers recycled content claims where a lining or shell is made from reclaimed fibre.
Checking the Render Against the Sample It Produced
The value of a render-first workflow is measurable after the first physical sample arrives, and almost nobody measures it. Record the render's stated dimension beside the measured dimension on the sewn unit, and the delta shows whether the model was built at 1:1 or merely looked right. Where the body width delta exceeds about 5 mm, the model is decorative and every later revision inherits the same error.
| Dimension | Render value | Sample value | Acceptable delta |
|---|---|---|---|
| Body width | 380 mm | 377-383 mm | 3 mm |
| Gusset depth | 110 mm | 108-112 mm | 2 mm |
| Handle drop | 260 mm | 255-265 mm | 5 mm |
| Internal pocket width | 180 mm | 177-183 mm | 3 mm |
| Hardware from datum edge | 42 mm | 40-44 mm | 2 mm |
Send the sketch, get a render and a sample plan
Send silhouettes, dimensions and a target retail price. A private label coordinator will return a 1:1 render in 24-48 hours and a sampling plan at 6-10 working days, with bulk at 35-50 days and inspection at AQL 2.5 under ISO 2859-1. Get a quote.
Frequently Asked Questions
Should a 3D render be approved before a physical handbag sample is made?
Yes for proportion, colour blocking, hardware position and branding placement, and no for drape, hand feel, stitch quality and plating. A render costs USD 60-180 per view and returns in 24-48 hours, while a physical sample costs USD 80-250 and takes 6-10 working days. Use the render to remove visual uncertainty and the sample to remove construction uncertainty.
How much does a production-ready 3D handbag render cost?
Expect USD 60-180 per view for a render built at 1:1 scale from a dimensioned specification, with a turntable and still images included. A three-silhouette line therefore costs roughly USD 400-1,200 at render stage. That compares with USD 80-250 per physical sample piece, charged per round, and most new shapes need two or three rounds.
How long does a render take compared with a physical sample?
A render takes 24-48 hours per view, and a full three-silhouette render stage with one revision pass runs 3-5 calendar days. A physical sample takes 6-10 working days, rising to 12-15 for framed, woven or stacked constructions. The render rarely saves money on its own; it saves one to two rounds, and each round is 6-10 working days.
Can a render show how leather will drape?
Only approximately. Simulation can get within roughly 8-12 percent of real drape between substance classes, which is enough to compare two silhouettes and not enough to approve one. A 0.9 mm split and a 1.4 mm full grain slump differently under the same load, so the physical sample remains mandatory for any design where slump is the point.
Which file formats should a handbag render be delivered in?
OBJ, FBX or GLB exported at 1:1 scale in millimetres, accompanied by still images and a turntable. The model file matters more than the picture, because it is what gets checked against the tech pack. Always ship a dimensioned flat sketch set alongside it, covering front, back, side, base and interior views.
What specifications must accompany a render for it to be producible?
A material call-out per panel with substance, thickness in millimetres, colour reference and finish; hardware references with type, size, finish and position in millimetres from a datum edge; stitch notes at 7-9 stitches per inch with a 10 mm seam allowance and Tex 40 thread; and branding method and position. Without those, the render is a picture.
Why does the physical sample look different from the render?
Most often because the render was shaded with a material the specification did not name, or lit in a way that flattered the colour. Colour must be approved against a physical swatch at Delta E 2.0 or better under a defined light source. The second most common cause is drape: a lighter substance slumps lower than the shaded model predicted.
How many sample rounds does a render-first process usually need?
One to two, against two to three for a sample-first process on a genuinely new silhouette. The render absorbs the visual arguments, which are the usual cause of round two and round three. The remaining round exists to check drape, hand feel and construction, none of which a render can settle.
When is a render a waste of money?
When the silhouette is already proven and the change is a colourway, when the change is a single dimension on an approved specification, or when the open question is about behaviour rather than appearance. If you need to know whether a base holds 3 kg or whether a drawcord channel feeds, build the sample instead.
Can a render be used for listing photography before goods exist?
Yes, and this is one of the better arguments for rendering. A clean render works in a pre-launch page, a wholesale line sheet or a campaign weeks before any goods exist, which lets listing copy and paid creative be built during the 35-50 day bulk window rather than after it.
How is colour approved when the render and the swatch disagree?
The physical swatch wins. A render is shaded under chosen lighting, and a Pantone TCX reference is measured against an approved physical swatch at Delta E 2.0 or better under a defined light source. Approve the swatch first, then check the render against it, rather than approving a screen and chasing it later.
Does a render change the MOQ or the bulk production window?
No. MOQ stays at 500 pcs per style / colourway and bulk stays at 35-50 days regardless of how the design was approved. What changes is the calendar before bulk: a render-first process typically removes one to two sampling rounds, each worth 6-10 working days, from the 55-80 day plan from brief to handover.
People Also Ask
Is a 3D render enough to approve a first sample?
No. A render settles proportion, colour blocking and branding position, and a physical sample settles drape, stitch density, hardware strength and hand feel. Approve the render first and the sample second.
What is the fastest way to cut sample rounds?
Freeze a dated 1:1 render, then transfer every dimension, material call-out and hardware reference from it into the tech pack before the pattern is cut. Mixing visual and construction changes in one revision list is what multiplies rounds.
Should every colourway be rendered?
Only the colourways that are genuinely undecided. Where one is settled, a material swap on the master model costs almost nothing, but a physical swatch is still needed for the dye-lot reference at 500 pcs per colourway.
Can renders replace sample photography for a line sheet?
Yes for pre-launch and wholesale assets. Retail and marketplace listings should still be shot from the physical sample, because shoppers respond to real drape, real grain and real hardware reflection.
Sources and further reading
Every figure on this page is either our own programme data or attributed below. Open the originals before you write them into a specification.
- REACH — chemical substances regulationEuropean Commission Annex XVII restricts the substances that may appear in finished leather and coatings.
- Leather Working Group — environmental auditing for tanneriesLeather Working Group Environmental audit protocol for tanneries and leather traceability.
- SATRA — technical services for leather, footwear and accessoriesSATRA Independent leather, hardware and accessories testing protocols.