Custom Bucket Bags: Proportions and Closure Options Explained
What proportions make a custom bucket bag work? Three numbers decide it: base diameter between 18 and 30 cm, body height at 1.1 to 1.5 times that diameter, and a drawcord channel 12-16 mm wide set 15-20 mm below the top edge. Everything a buyer perceives as slouchy, structured or top-heavy comes from the ratio of the first two numbers, not from the material — a 20 cm base under a 26 cm body reads upright, while a 26 cm base under the same 26 cm body reads squat. Closures are then a separate decision with four realistic options, and the cheapest of them, a drawcord with a 12-18 mm toggle, is also the one that survives a 500 pcs first run with the fewest defects.
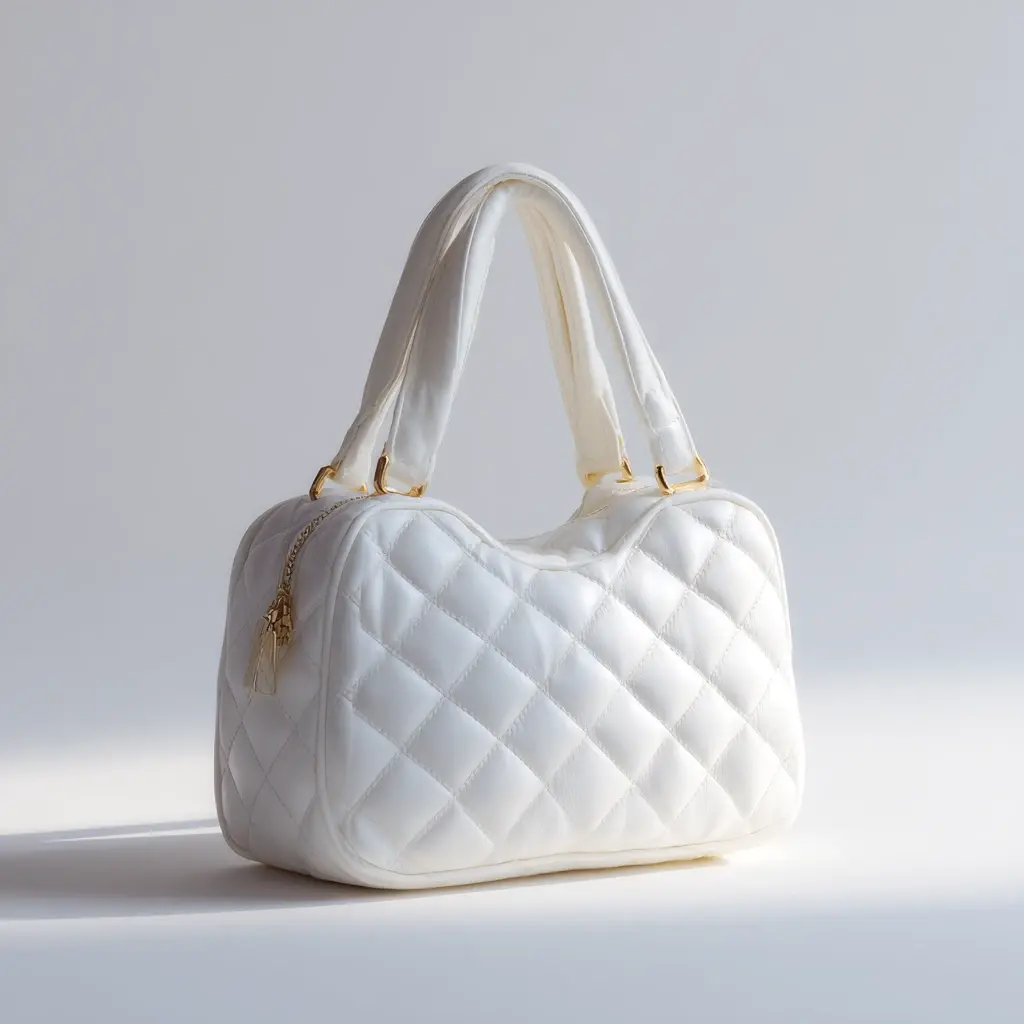
- The Three Numbers That Decide a Bucket Bag
- Base Diameter to Body Height: The Ratio Ladder
- Drawcord Channel Depth and Where It Sits
- Four Closure Options and What Each Costs You
- Material Behaviour at Each Proportion
- Strap Drop and the Load Path
- Base Reinforcement: What Keeps the Shape
- The Numbers to Send With Your Brief
- How the Body Panel Is Drafted: Seams, Taper and Top Circumference
- Six Specification Errors and the Symptom Each One Produces
- What a Bucket Costs to Pack, Ship and Give Shelf Space To
What proportions make a custom bucket bag work? Three numbers decide it: base diameter between 18 and 30 cm, body height at 1.1 to 1.5 times that diameter, and a drawcord channel 12-16 mm wide set 15-20 mm below the top edge. Everything a buyer perceives as slouchy, structured or top-heavy comes from the ratio of the first two numbers, not from the material — a 20 cm base under a 26 cm body reads upright, while a 26 cm base under the same 26 cm body reads squat. Closures are then a separate decision with four realistic options, and the cheapest of them, a drawcord with a 12-18 mm toggle, is also the one that survives a 500 pcs first run with the fewest defects.
Bucket bag specification figures
The Three Numbers That Decide a Bucket Bag
A bucket silhouette has fewer panels than almost any other handbag and that is exactly why it is unforgiving. A tote hides a proportion mistake behind a structured gusset and a flat face; a bucket has nowhere to hide it. Three measurements carry the whole design, and all three should be stated in millimetres on the tech pack rather than implied by a photograph.
- Base diameter. The width of the base panel, measured across the flat. This is the number that decides how much the bag can hold and how wide it looks on the shoulder.
- Body height. From the base seam to the top edge, excluding the channel and the strap. This is the number that decides whether the bag reads tall or squat.
- Channel placement. How wide the drawcord channel is and how far below the top edge it sits. This is the number that decides whether the bag closes cleanly or gapes.
Everything else — panel count, gusset construction, lining weight, hardware finish — is downstream of these three. Get them wrong and no amount of better leather rescues the silhouette; get them right and even a modest material reads well on the shelf.
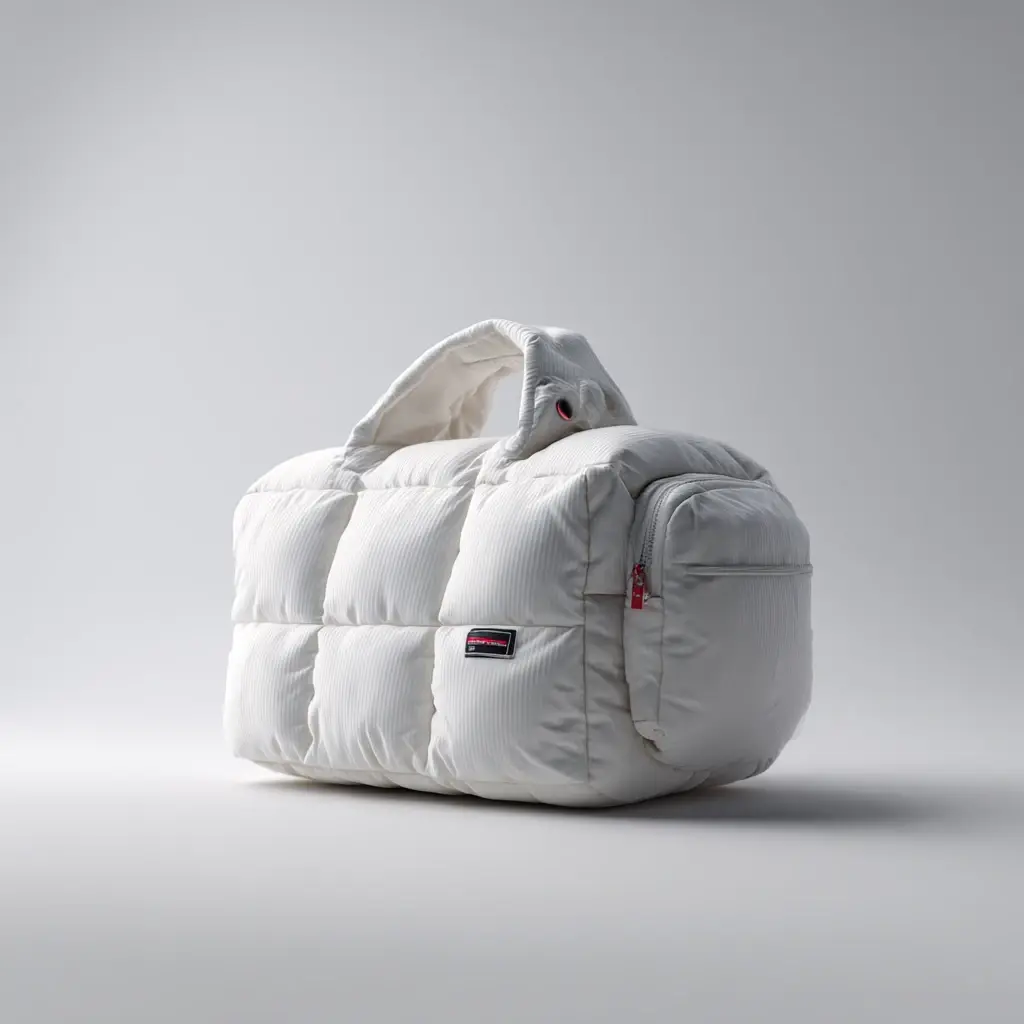
Base Diameter to Body Height: The Ratio Ladder
The ratio between height and base diameter is the single most useful number on the specification, because it predicts how the bag will be described in a review before a single unit is made. Below 1.0 the bag reads as a bowl; around 1.1 to 1.2 it reads relaxed; 1.3 to 1.4 reads balanced; above 1.5 it starts to read as a bin and the base becomes too small to stand reliably.
| Ratio | Example (base x height) | How it reads | Best use |
|---|---|---|---|
| 0.9-1.0 | 28 cm x 27 cm | Bowl-like, wide, casual | Beach and market carry |
| 1.1-1.2 | 24 cm x 27 cm | Relaxed slouch | Everyday shoulder carry |
| 1.3-1.4 | 20 cm x 27 cm | Balanced, upright | Core commercial range |
| 1.5-1.6 | 18 cm x 28 cm | Tall and narrow | Evening and city carry |
| Above 1.7 | 16 cm x 28 cm | Unstable standing | Avoid without a stiff base |
The commercial centre of gravity sits at 1.3 to 1.4, and it is worth understanding why. At that ratio the bag stands on its base without reinforcement tricks, the opening is wide enough to reach into, and the silhouette photographs well from the front because the top and bottom edges read as roughly parallel. Ratios above 1.6 require a heavier base board and often metal feet, which add cost and add a failure point.
Drawcord Channel Depth and Where It Sits
The channel is the most frequently mis-specified part of a bucket bag, and the error is nearly always the same: it is drawn too close to the top edge. A channel 12-16 mm wide sitting 15-20 mm below the top edge leaves enough leather above it to fold over and read as a finished collar. Set it 8 mm below the edge instead and the collar disappears, the cord sits flush against the rim, and the bag looks unfinished in photographs.
- Channel width 12-16 mm. Narrower than 12 mm and a 5 mm cord binds; wider than 16 mm and the collar flops.
- Channel depth below top edge 15-20 mm. This is the collar, and it is what makes the bag look made rather than cut.
- Cord diameter 4-6 mm. Braided cord in this range pulls smoothly through a channel and holds a knot under load.
- Cord length roughly 2.5 times the circumference. Shorter and the bag will not close; longer and the tails drag.
- Toggle 12-18 mm. Below 12 mm it pulls through the channel under load; above 18 mm it looks heavy on a small bag.
Two eyelet details follow from the channel. The cord exits should be reinforced — either a metal eyelet of 6-8 mm internal diameter or a bound buttonhole — because an unreinforced slit in a 1.2 mm leather body is the first thing to tear in the field. And the cord ends should be heat-sealed or whipped rather than simply cut, which is the difference between a clean tail and a frayed one after three weeks of use.
Four Closure Options and What Each Costs You
Closures are where the proportion decision meets the budget. Each of the four realistic options changes the tooling line, the operation count and the defect profile, and the differences are larger than most first-time designers expect.
| Closure | Tooling | Added operations | Defect risk | Best at |
|---|---|---|---|---|
| Drawcord + toggle | None if stock toggle | 4-6 | Low: cord length variance | 500 pcs first run |
| Drawcord + leather slide | None | 6-8 | Low: slide stitching | Mid-market, softer look |
| Magnetic snap under flap | None if stock snap | 10-14 | Medium: alignment | Structured city styles |
| Custom cast lock | USD 900-2,600 mould | 12-18 | Higher: plating and fit | 2,000 pcs and above |
The drawcord with a stock toggle wins on every count for a first run: no tooling, four to six added operations, and a defect profile that consists almost entirely of cord-length variance, which is easy to hold within plus or minus 10 mm. The custom cast lock is the right answer at a different stage — once the silhouette has sold and the quantity has passed 2,000 pieces, an owned mould becomes an asset rather than an expense.
What Does a Magnetic Snap Do to the Proportion?
It changes the top of the bag. A magnetic snap needs a flap or a facing to hide it, which adds 30-45 mm of height to the body and pushes a 1.3 ratio toward 1.5. If the design brief calls for a snap, specify the body height excluding the flap and state the flap drop separately — otherwise the sample arrives taller than the drawing and the whole silhouette shifts. Snap strength is specified separately: 2-4 kg pull for a bag of this size is typical, and a snap that is too strong tears out of a 1.2 mm body panel.
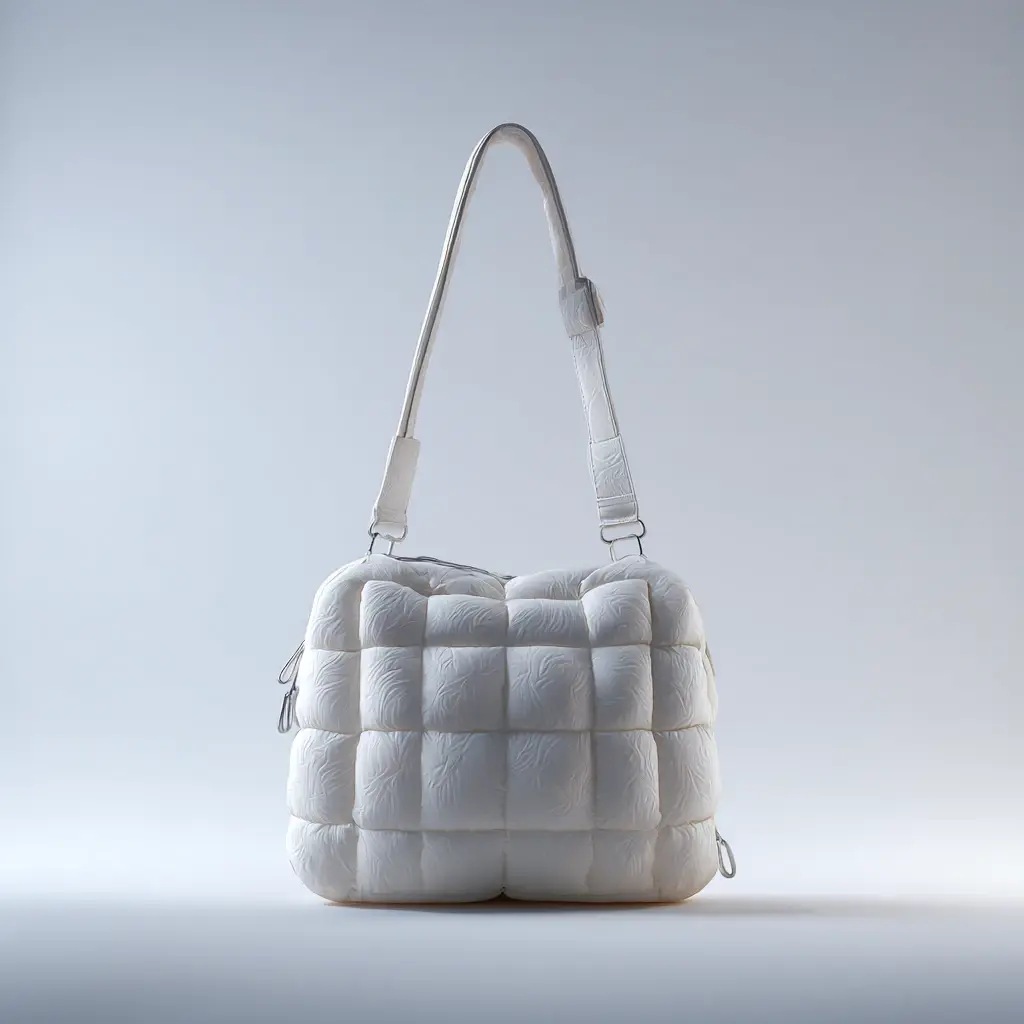
Material Behaviour at Each Proportion
Leather thickness is not a quality signal; it is a proportion tool. A soft milled leather at 1.2 mm on a 1.5 ratio slumps beautifully and looks intentional. The same leather at 1.6 mm on a 0.9 ratio stands up stiffly and looks wrong. Matching substance to ratio is the fastest way to get a first sample approved on round one.
| Ratio band | Body substance | Base substance | Lining | Result |
|---|---|---|---|---|
| 0.9-1.1 | 1.4-1.6 mm, firmer temper | 1.8-2.0 mm | 210D or 190T | Holds a wide shape |
| 1.2-1.3 | 1.2-1.4 mm, medium temper | 1.6-1.8 mm | 210D | Balanced, slight slouch |
| 1.4-1.5 | 1.0-1.2 mm, soft milled | 1.6 mm with board | 190T | Relaxed, collapses softly |
| 1.6 and above | 1.2-1.4 mm with interlining | 2.0 mm with 1.6 mm board | 210D | Needs structure to stand |
Yield follows from the same arithmetic. A 24 cm base with a 27 cm body consumes roughly 1.5-1.8 sq ft of hide once the panel layout and the base disc are nested, and the base disc is the awkward piece — a single circular panel of 24 cm diameter cannot be nested efficiently, which is why the base is often cut in two or joined with a seam allowance of 10 mm. Where the hide comes from, Leather Working Group tannery traceability can be documented on request.
Strap Drop and the Load Path
On a bucket bag the strap does more structural work than on any other silhouette, because the body has no frame and everything hangs from two attachment points. That makes the drop measurement and the reinforcement behind it the two most important durability decisions on the specification.
- Shoulder carry. A drop of 22-28 cm puts the top edge under the arm; below 20 cm the bag rides into the armpit.
- Crossbody carry. 50-60 cm drop with a 20-25 mm wide strap; narrower than 18 mm and the cord body is pulled out of shape by the strap.
- Attachment reinforcement. A hidden webbing extension of 60-90 mm running down the body panel, stitched with a box and cross pattern.
- Stitch specification. Tex 40 thread at 7-9 stitches per inch with a 10 mm seam allowance; this is what an inspector counts first.
The failure mode is worth naming because it is the one that generates returns: the strap does not break, the attachment tears out of the body panel. A 1.2 mm panel holding a full bucket through a 20 mm strap is carrying the entire load through roughly 40 mm of stitch line. Extending the load with webbing down the panel spreads it over 60-90 mm, which is the difference between a bag that lasts a season and one that comes back.
Base Reinforcement: What Keeps the Shape
Whether a bucket bag stands up is a base decision, and there are three ways to make it happen. Each has a cost in operations, in weight and in how the bag feels when it is empty.
- A board insert. 1.2-1.6 mm of board between the outer base and the lining, removable or bonded. The standard answer, adding 2-3 operations and holding shape well.
- A heavier base leather. 1.8-2.0 mm instead of 1.2-1.4 mm, giving structure without a separate insert. Adds weight and material cost but removes a component.
- Metal feet. Four to six feet at 8-10 mm diameter, which protect the base leather and lift the bag off wet surfaces. Adds 4-8 operations and one more hardware item to plate and test.
For a first run, the board insert plus a heavier base leather is the combination that delivers structure without adding a hardware item to the bill of materials. Metal feet are worth adding once the bag has proven itself, and they should be specified with a plating thickness and a corrosion test — 24 hours to first corrosion under ASTM B117 is the usual benchmark for zinc alloy parts.
The Numbers to Send With Your Brief
A bucket bag brief that arrives with these eleven numbers produces a first sample that needs one revision rather than three. Anything less and the sampler is guessing at the silhouette, which is the most expensive kind of guess because it costs a full 6-10 working day round.
- Base diameter in millimetres, typically 180-300 mm.
- Body height in millimetres, at 1.1-1.5 times the base.
- Channel width and placement: 12-16 mm wide, 15-20 mm below the top edge.
- Cord specification: 4-6 mm braided, length about 2.5 times the circumference.
- Toggle or slide: 12-18 mm, stock or custom.
- Body substance: 1.0-1.6 mm with a stated temper.
- Base substance and reinforcement: 1.6-2.0 mm, board insert 1.2-1.6 mm, feet if required.
- Strap width and drop: 20-25 mm wide, 22-28 cm shoulder or 50-60 cm crossbody.
- Lining: 210D or 190T, with pocket layout.
- Branding method and position in millimetres from a datum edge.
- Quantity per colourway, remembering MOQ is 500 pcs per style / colourway.
Two adjacent references complete the picture. The zinc alloy hardware guide covers plating and corrosion specification for toggles and feet, and the styles guide for first-time designers places the bucket silhouette against the other shapes a first line might carry. The custom handbags pillar page sets out how the wider programme is structured, with sampling at 6-10 working days and bulk at 35-50 days.
How the Body Panel Is Drafted: Seams, Taper and Top Circumference
A bucket looks like the simplest silhouette in the range and its pattern is the least forgiving of shortcuts, because there is no frame to correct anything afterwards. The body is either one wrapped panel closing on a single vertical seam, or two to four panels joined to keep the front face clean. Whichever is chosen, the taper from base circumference to top circumference has to be stated rather than left to the sample room: a 200 mm base gives 628 mm at the bottom, and reaching a 600-750 mm top edge means a taper of roughly three to six degrees per side.
- One-seam wrap. The cheapest build and the most tolerant of hide variation, with a 10 mm seam allowance closed at 7-9 stitches per inch and usually placed at the back left.
- Two or four panels. Better centring on the front face for a debossed patch, at the cost of one to three extra operations and an extra chance of mismatch on a patterned hide.
- Taper angle. Write it in degrees per side. Four to five is the commercial default and it moves the top circumference by about 30-45 mm per degree on a 240 mm body.
- Base disc. Cut to the internal base diameter minus twice the seam allowance, so a 200 mm internal base on a 10 mm allowance gives a disc near 180 mm.
- Panel length. Base circumference plus opening allowance stated in millimetres, so grading to a second size is arithmetic rather than a re-draw.
Six Specification Errors and the Symptom Each One Produces
Every structural complaint about a bucket bag traces back to one of six drafting decisions, and the useful thing about them is that five are invisible on a drawing and visible within a fortnight of use. Reading them in reverse, from symptom back to cause, is how a specification gets corrected in one round rather than three.
| Symptom in use | Cause in the specification | Correction | Cheapest moment to fix it |
|---|---|---|---|
| Collar folds outward instead of standing | Channel set 8-10 mm below the top edge rather than 15-20 mm | Deepen the collar to 15-20 mm | Sampling, one round at about USD 180-260 |
| Mouth will not cinch closed | Cord cut shorter than 2.5 times the top circumference | Recalculate from circumference plus 40 mm per end for finishing | Before cutting; expensive across a bulked lot |
| Base bulges downward after a month | Board thickness mismatched to the load or no reinforcement disc above 220 mm | Match 1.2-1.6 mm board to diameter and add the disc | Sampling; a progressive fault once shipped |
| Scalloped mouth when drawn | Too few eyelets for the circumference | Six to eight spaced by measurement rather than by eye | Sampling, no tooling implication |
| Channel puckers between eyelets | Channel narrower than 12 mm for a 4-6 mm cord | Widen to 12-16 mm | Sampling; affects every body panel |
| Body leans when set down | Base too narrow for the height, or no base board at all | Increase base diameter or add the board | Sampling only; cannot be corrected after assembly |
What a Bucket Costs to Pack, Ship and Give Shelf Space To
A cylindrical body is the most freight-efficient structured silhouette in the range and the least shelf-efficient, and those two facts pull in opposite directions. Nesting is what creates the freight advantage: bodies nested two deep pack roughly 30-40 per cent tighter than a satchel of similar capacity. The retail cost is width, because a base diameter is irreducible and every seller charges for the linear frontage it occupies.
- Nested height. Twelve nested bodies occupy 240-320 mm, which sets the carton height and therefore how many cartons fit a pallet layer.
- Units per master carton. Twelve to twenty-four depending on base diameter, versus six to ten for a structured satchel of comparable capacity.
- Volume per unit. Roughly 0.006-0.010 cubic metres shipped stuffed; that number rather than the invoice weight is what sets freight on a bulky order.
- Shelf frontage. A 240 mm base occupies about 300-320 mm of planogram width once clearance is added, so the same linear metre holds about 30 per cent fewer units than a flat-fronted tote.
- Stacked display. Only viable above a 1.3 ratio with a 1.2-1.6 mm board; below that the shape hangs or lies rather than stacks.
Send the three numbers, get a sample slot
Send base diameter, body height and channel placement together with quantity and material direction. A private label coordinator will return a dimensioned specification for costing, sampling at 6-10 working days and inspection at AQL 2.5 under ISO 2859-1. Get a quote.
Frequently Asked Questions
What is the best base diameter for a custom bucket bag?
Between 20 and 24 cm for a general-purpose bag, with 18-30 cm the full workable band. Base diameter sets capacity and how wide the bag reads on the shoulder, and it should be specified in millimetres rather than implied by a reference photograph, because a 2 cm difference changes the whole silhouette.
What ratio of height to base diameter should I use?
Between 1.1 and 1.5, with 1.3 to 1.4 the commercial centre. Below 1.0 the bag reads as a bowl, 1.1 to 1.2 reads as a relaxed slouch, and above 1.6 the base becomes too small to stand reliably without a heavy board and metal feet.
How wide should the drawcord channel be?
12 to 16 mm, sitting 15 to 20 mm below the top edge. Narrower than 12 mm binds a 5 mm cord, wider than 16 mm lets the collar flop, and a channel set closer than 15 mm to the edge removes the collar entirely, which is why the bag looks unfinished in photographs.
What size toggle should a bucket bag use?
12 to 18 mm. Below 12 mm the toggle pulls through the channel under load and above 18 mm it looks heavy on a smaller body. A stock toggle avoids tooling entirely, which is the right call for a first run of 500 pcs.
Which closure is cheapest for a first bucket bag run?
A drawcord with a stock toggle. It carries no tooling charge, adds only four to six operations, and its defect profile is limited to cord-length variance, which is easy to hold within plus or minus 10 mm. A custom cast lock only makes sense above roughly 2,000 pieces.
Does a magnetic snap change the proportions?
Yes. A snap needs a flap or facing to hide it, which adds 30-45 mm of height and pushes a 1.3 ratio toward 1.5. Specify body height excluding the flap and state the flap drop separately, or the sample will arrive taller than the drawing.
How thick should the leather be on a bucket bag body?
1.2 to 1.4 mm for a balanced proportion, moving to 1.4-1.6 mm with a firmer temper for ratios below 1.1 and to 1.0-1.2 mm soft milled for ratios above 1.4. Substance is a proportion tool rather than a quality signal, and matching it to the ratio is what gets a first sample approved.
How do you make a bucket bag stand up?
Three ways: a 1.2-1.6 mm board insert between the outer base and the lining, a heavier base leather at 1.8-2.0 mm, or four to six metal feet at 8-10 mm. For a first run the board insert plus a heavier base is the combination that gives structure without adding a hardware item.
What strap drop works on a bucket bag?
22 to 28 cm for shoulder carry, which puts the top edge under the arm, and 50 to 60 cm for crossbody with a strap 20-25 mm wide. Below a 20 cm drop the bag rides into the armpit, and below an 18 mm strap width the body is pulled out of shape.
Why do bucket bag straps fail?
The strap itself rarely breaks; the attachment tears out of the body panel. A 1.2 mm panel carrying a full bucket through a 20 mm strap takes the whole load through about 40 mm of stitch line, so a hidden webbing extension of 60-90 mm stitched with a box and cross pattern is the fix.
How much leather does a bucket bag use?
Roughly 1.5 to 1.8 sq ft of hide for a 24 cm base with a 27 cm body, once the panel layout and base disc are nested. The base disc is the awkward piece, because a single circular panel nests poorly, which is why bases are often cut in two and joined with a 10 mm seam allowance.
How long does a custom bucket bag take to develop?
Sampling is 6-10 working days for a standard drawcord construction and 12-15 for a framed or lined structured version, with review and revision adding 3-6 days. Bulk production is 35-50 days, and inspection at AQL 2.5 under ISO 2859-1 takes a further 1-2 days before release.
People Also Ask
Should a first bucket bag be lined?
Yes, and 210D is the usual choice. A lining hides the base board, gives the drawcord channel a clean inside finish and prevents the cord from abrading the flesh side of the leather, which is the most common wear complaint on unlined bodies.
Is a bucket bag a good first silhouette?
It is a good second silhouette. It has few panels and no complex framing, but it is unforgiving on proportion, so a first line usually does better starting with a shape whose mistakes are easier to hide and adding the bucket once the brand knows its customer.
Can the base be a different colour from the body?
Yes, and it is a common way to add a colourway without a second dye lot of the main hide. Note that each colourway still counts separately against MOQ, so a contrast base in a second shade is a second material buy rather than a free variation.
What tolerance should be written on the dimensions?
Plus or minus 3 mm on body width, height and strap drop. That is tight enough to keep the silhouette consistent across 500 pieces and loose enough to be achievable on a soft material, where a tolerance of 1 mm would simply drive rework.
Sources and further reading
Every figure on this page is either our own programme data or attributed below. Open the originals before you write them into a specification.
- SATRA — technical services for leather, footwear and accessoriesSATRA Independent leather, hardware and accessories testing protocols.
- Leather Working Group — environmental auditing for tanneriesLeather Working Group Environmental audit protocol for tanneries and leather traceability.
- REACH — chemical substances regulationEuropean Commission Annex XVII restricts the substances that may appear in finished leather and coatings.